
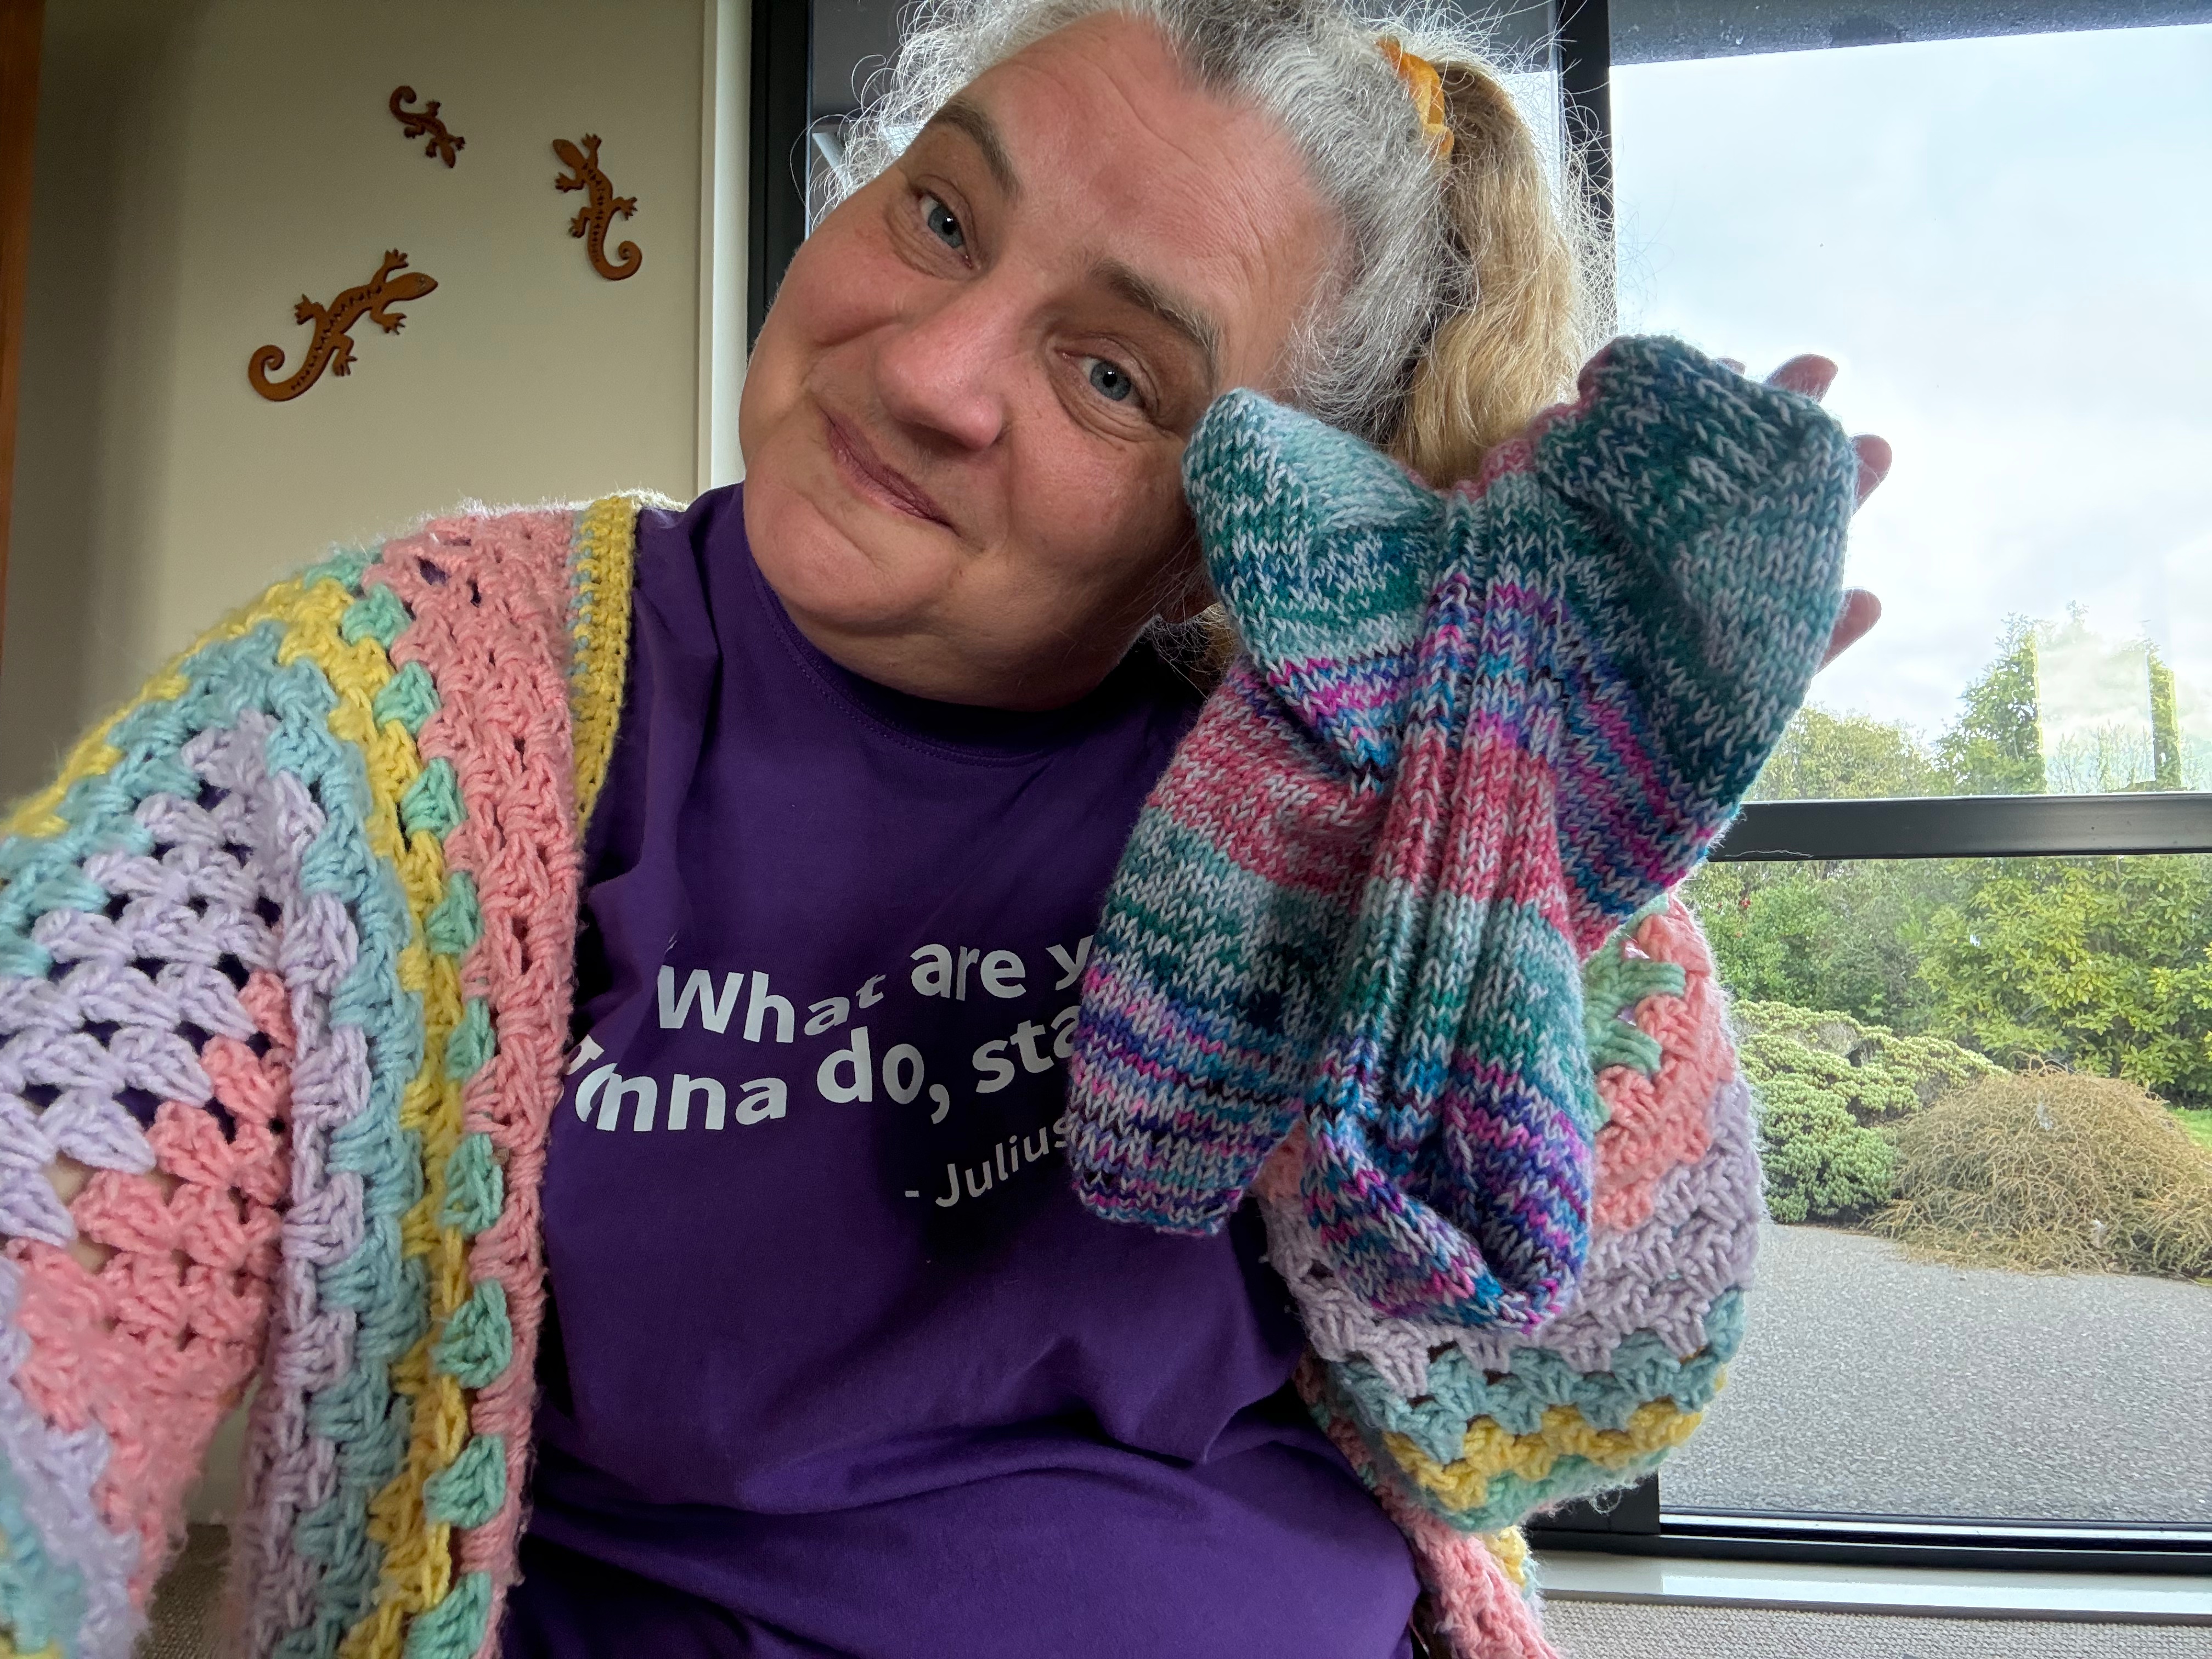
This pattern was designed with dealing with sock yarns leftovers that are too long to just trash, but not enough yarn for another pair. This pattern has a video accompaniment with may be helpful.
You will need:
– 1 ball of 4ply sock yarn – I used West Yorkshire spinners, purchased from Good Wool Hunting. This one will be carried through the whole sock as a unifying feature. This is referred to as the base yarn for this project.
– leftover yarn balls from previous socks in 4ply sock yarn. I used 2 hand dyed yarns from different makers and one ball from Hobbii.
– 2 x 4mm circular needles (or a set of DPN’s. However you prefer to knit socks)
– 1 stitch marker
– Darning needle and scissors for the finishing up.
Making the socks
Holding 2 strands of the 4ply yarn together, cast on 56 stitches. Join in the round. Place 28 stitches on each needle (or spread how you prefer to knit socks)
Ribbed cuff
Complete 12 rows in Knit 1, Purl 1 ribbing. I find this creates a nice stretchy cuff. At the end of this 12 rows, cut off the scrap yarn (with a tail for darning in). Swap this out with another ball of scrap yarn.
Sock body
This section is made with a knit 4, purl 4 repeat over the whole row.
Over 12 rows- knit 4, purl 4. Repeat over each row. At the end of the section, cut off the scrap yarn, and swap this out with other ball of scraps. I used 3 scrap yarns for this project in somewhat co-ordinating colours.
With scrap colour 3 and the main colour held double still, complete another 12 rows of the knit 4, purl 4 repeat.
At the end of this section, cut off the scrap yarn and replace with the initial yarn used. This will co-ordinate your ribbing with the heel turn.
Heel flap
This occurs on ONLY needle 2 (or the second 28 stitches of your sock).
Row A (on the right side of just needle 2): Slip 1 purlwise, Knit 1, *(Slip 1 purlwise with yarn in back, knit 1). Repeat from * to end of the row on needle 2. Turn your work.
Row B (on the wrong side of just needle 2): Slip 1, purl to the end of the row on just needle 2.
Repeat these rows until you have done Row A and Row B 14 times on just half the stitches.
Heel turn
This just creates a shape at the back of the foot. This is also just on needle 2 directly following the heel flap. These are short rows, and do not go all the way to the end of the needle. It is very much a case of “trust the process” if you haven’t made socks in this way before.
Row C: Slip 1 purlwise, knit 14, knit 2 together, knit 1. Turn your work.
Row D: Slip 1, purl 3, purl 2 together, purl 1. Turn your work.
Complete Row C and Row D on just the heel flap section. Do this one time.
Row E: Slip 1 purlwise, knit to one stitch before the gap in your work, knit 2 together, knit 1. Turn your work.
Row F: Slip 1, purl to one stitch before the gap in your work, purl 2 together, knit 1
Complete Row E and Row F and repeat until you have knit the last stitch of each row.
Row G: Slip 1, knit to the last 2 stitches, knit 2 together.
Row H: Slip 1, purl to the last 2 stitches, purl 2 together.
Complete Row G and Row H on just the heel flap/turn section.
The next part involves picking up stitches along the sides of the heel flap.
Heel Gusset
This bit can be a bit confusing, but it will make sense as you knit a few rows. The first bit is a set up bit.
NEEDLE 2: Knit 7 stitches on needle 2. Place a marker here. This is the centre of the back of the heel. Knit 7 stitches. You are now at the end of the stitches on needle 2. Pick up and knit 15 stitches along the side of the heel flap. This will be the slipped stitches on the edge (these will be easy to see), and then 1 extra pick up from the leg before needle 1.
NEEDLE 1: Knit 4, purl 4 across needle 1. (or first 28 stitches)
NEEDLE 2: Pick up and knot the leg from between the stitches on needle 1 and needle 2. Pick up and knit the 14 slipped stitches on the edges of the heel flap. Knit 7 stitches. Slip marker. Knit until the last 3 stitches on needle 2, knit 2 together, knit 1.
NEEDLE 1: Knit 4, purl 4 across needle 1. (or first 28 stitches)
NEEDLE 2: Knit 1, SSK (slip 1 as if to knit, slip 1 as if to knit, knit the 2 slipped stitches together which creates a decrease). Knit to marker.
Now it is a bit easier to work out what is happening by counting from marker to marker.
ROW I: Knit to the end of needle 2, continue knit 4, purl 4 rib pattern on needle 1, on needle 2 knit to marker.
ROW J: Knit to the last 3 stitches on needle 2. Knit 2 together, knit 1. Continue knit 4, purl 3 rib pattern on needle 1. On needle 2, knit 1, SSK, knit to marker.
Repeat Row I and Row J until you have 28 stitches on needle 2 (Or you are back to 56 stitches in total). I use this marker to check that I have 14 stitches on each side of the needle.
Knit the 14 stitches remaining on needle 2 bringing you back to ordinary row counting. You can remove the marker at this point.
Foot Hugging section
I don’t know what to call this bit, but basically it is a ribbed section to try and get the sock to stay attached to the foot. It’s hopeful. Cut scrap yarn 1 with room to darn in your tails, and attach scrap yarn 2 to this section with the base yarn.
ROW K: On needle 1 (or first 28 stitches), knit 4, purl 4 – continue this rib pattern over the needle. On needle 2 knit across the whole needle.
Repeat ROW K until you reach the toe of your foot. For mine, this was 24 rows – or 2 coloured stripes of 12 rows each. You may have shorter or longer feet.
Toe shaping
Change back to your starting yarn colours to match your toes with the heel and band.
ROW L: On needle 1: Knit 1, SSK, knit to the last 2, K2 together. Repeat on Needle 2. This decreases 2 stitches per needle, or 4 per row
ROW M: Knit all stitches.
Repeat ROW L and ROW M until you have 14 stitches remaining on each needle.
Kitchener bind off the toe of your sock.
Now make a second sock, darn in your ends, and wear your socks.

Leave a comment